Introduction
ESP’s are great to give your sensors the possibility to extract the sensor data, because of the on-board WIFI chip, which can connect to your network.
Imagine you have multiple sensors, and you would like to access the measured data and show it in Home Assistant. You can either spin up a web server on your ESP and pull the data or send data from your ESP to your Home Assistant.
The advantage of the push strategy is power saving through deep sleep mode of ESP, which will be explained later.
Components
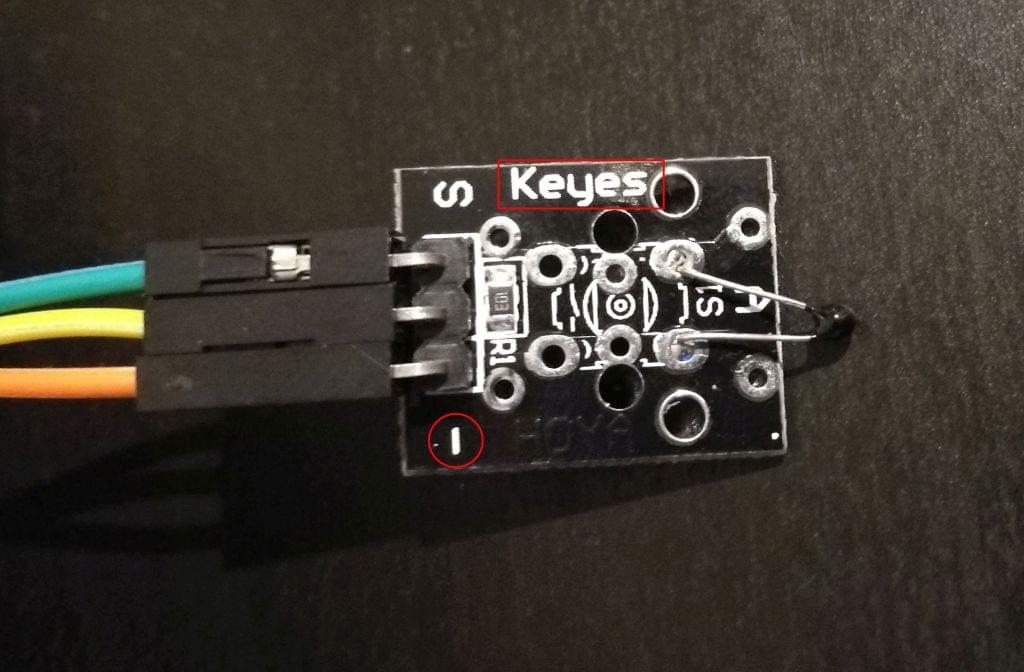
- The KY-013 Analog Temperature Sensor
- ESP8266 from mine previous post
In my case the + and - pin label was incorrect and I had to swap them. So that the orange wire is attached to + (and not -).

Weather Station
The temperature sensor will be connected with the ESP over the GPIO’s. The ESP itself will send over WIFI the data (temperature) to your Home Assistant MQTT (Message Queuing Telemetry Transport). The Mosquitto broker Add-on (MQTT) need to be activated on your Home Assistant, in Add-on Store Overview. Don’t forget to set the username and password in MQTT config.
Assembling
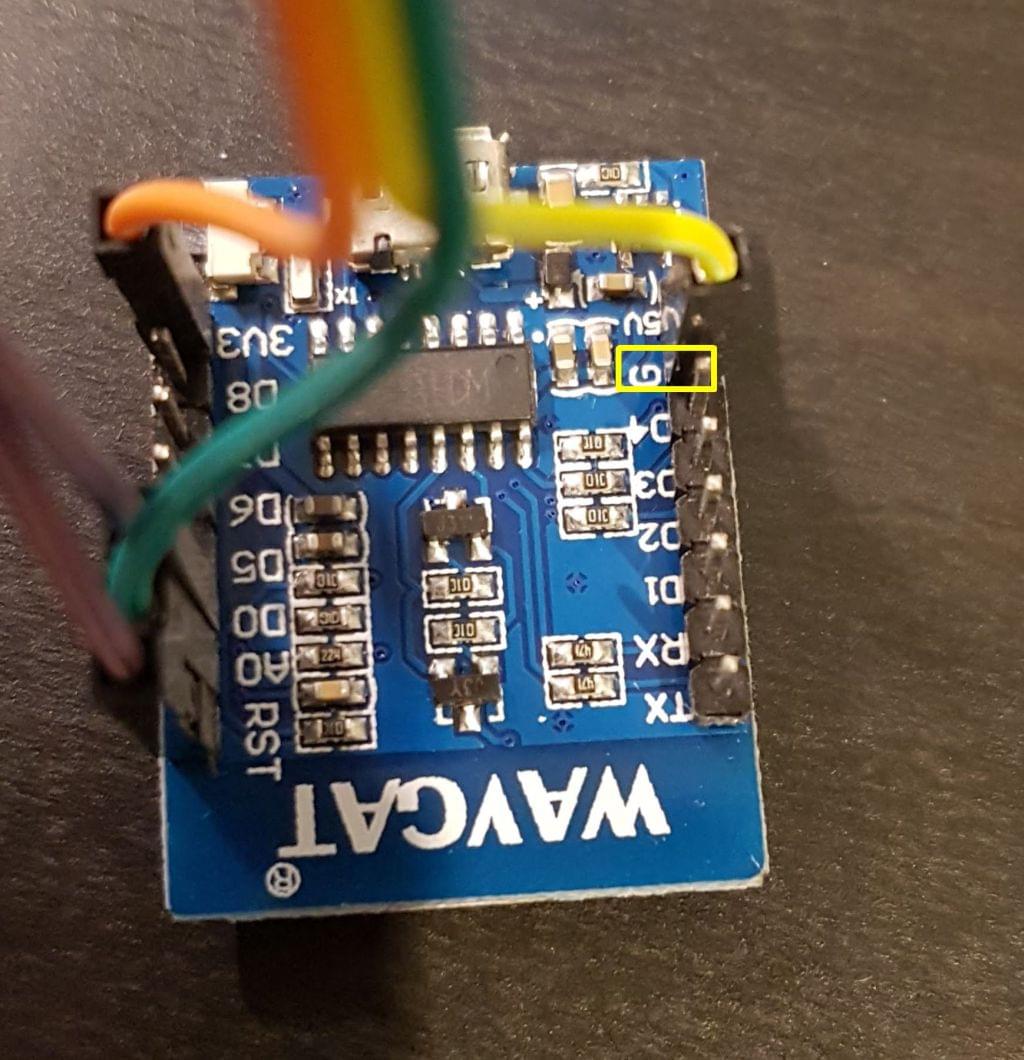
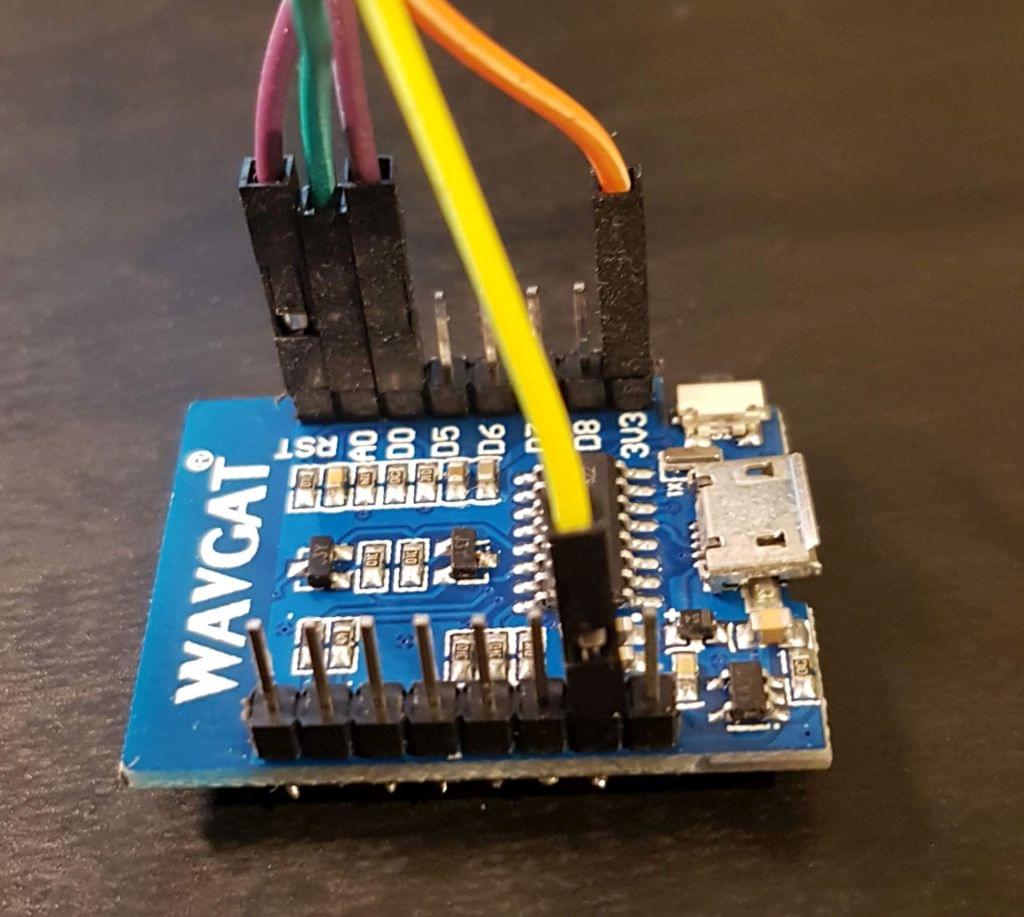
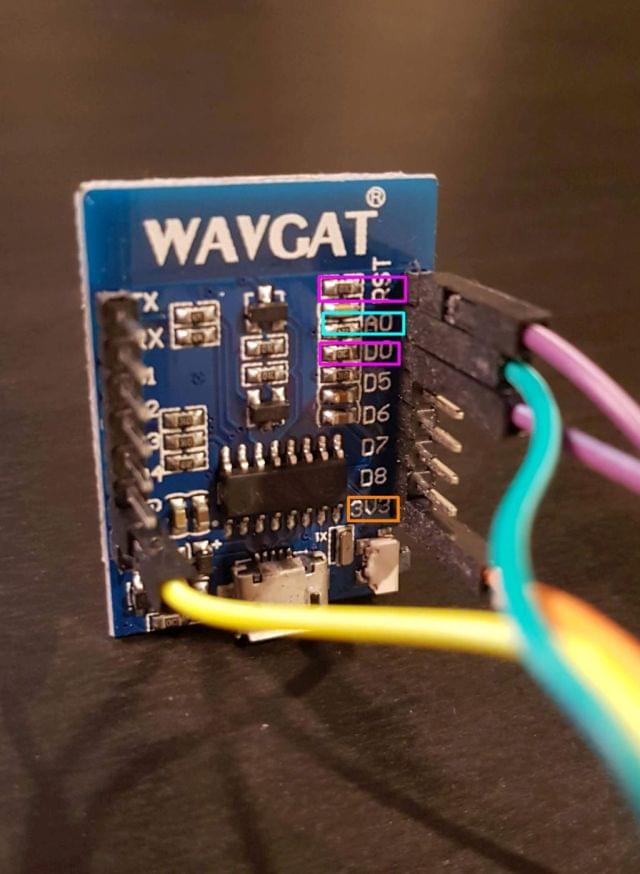
| WIRE | PIN |
|---|---|
| yellow | G (ground) |
| orange | 3V3 |
| cyan | A0 |


Code
Don’t forget to set WIFI SSID, WIFI Password and also MQTT Server IP, username and password in the code.
1 |
|
Home Assistant Config
To see the temperature in Home Assistant web interface, we have to add the sensor to configuration.yaml like that:
1 | # Sensors |
It will look like that in your interface:

Deep Sleep
ESP provides an excellent power saving feature through the deep sleep mode.
Deep sleep mode turns off everything except the RST pin, which is required to turn the ESP on again.
The following steps will be done within the code:
- ESP will be started
- Connecting to WIFI
- Measure the temperature with the sensor
- Send the data to MQTT
- Go in deep sleep mode (turn everything off)
- Restart the ESP once the timer ends (which is set in the code)
You need an additional wire from RST to D0 (purple wire in my case) to have that feature work.
